Friday, June 24, 2011

Instant Girlification

Instead of randomly making crocheted scarfs and purses for nobody in particular, I decided to start concentrating my efforts on specific people...mostly so I don't have a lot of shit sitting in my closet, leaving me racking my brain wondering who to give it too.

I made Turdy the Turtle for my sweet nephew, and some random amigurumi strawberries for my crazy 9 year old niece (per request) and now I get to girly-up my littlest niece with some cute little headbands.

My Sister-In-Law has made it her personal quest to make her youngest daughter into a girly-girl; whether she likes it or not, damnit. ;) Since she has lost all hope for her older daughter (I believe I may have had a slight hand in facilitating her tomboyish, dirt-loving, anti-girly-girl persona) Emily is her only hope at having an actual girl to dress up in ruffles and lace.

 So, I made it my mission to help girlify her; the best part is I can do it practically for free since I'm using nothing but yarn scraps! Plus I have the most adorable model ever created, which makes the job a lot easier. Presenting Miss Emily, pronounced "Em-A-Yee" if you are gangsta like my three year old nephew :D.


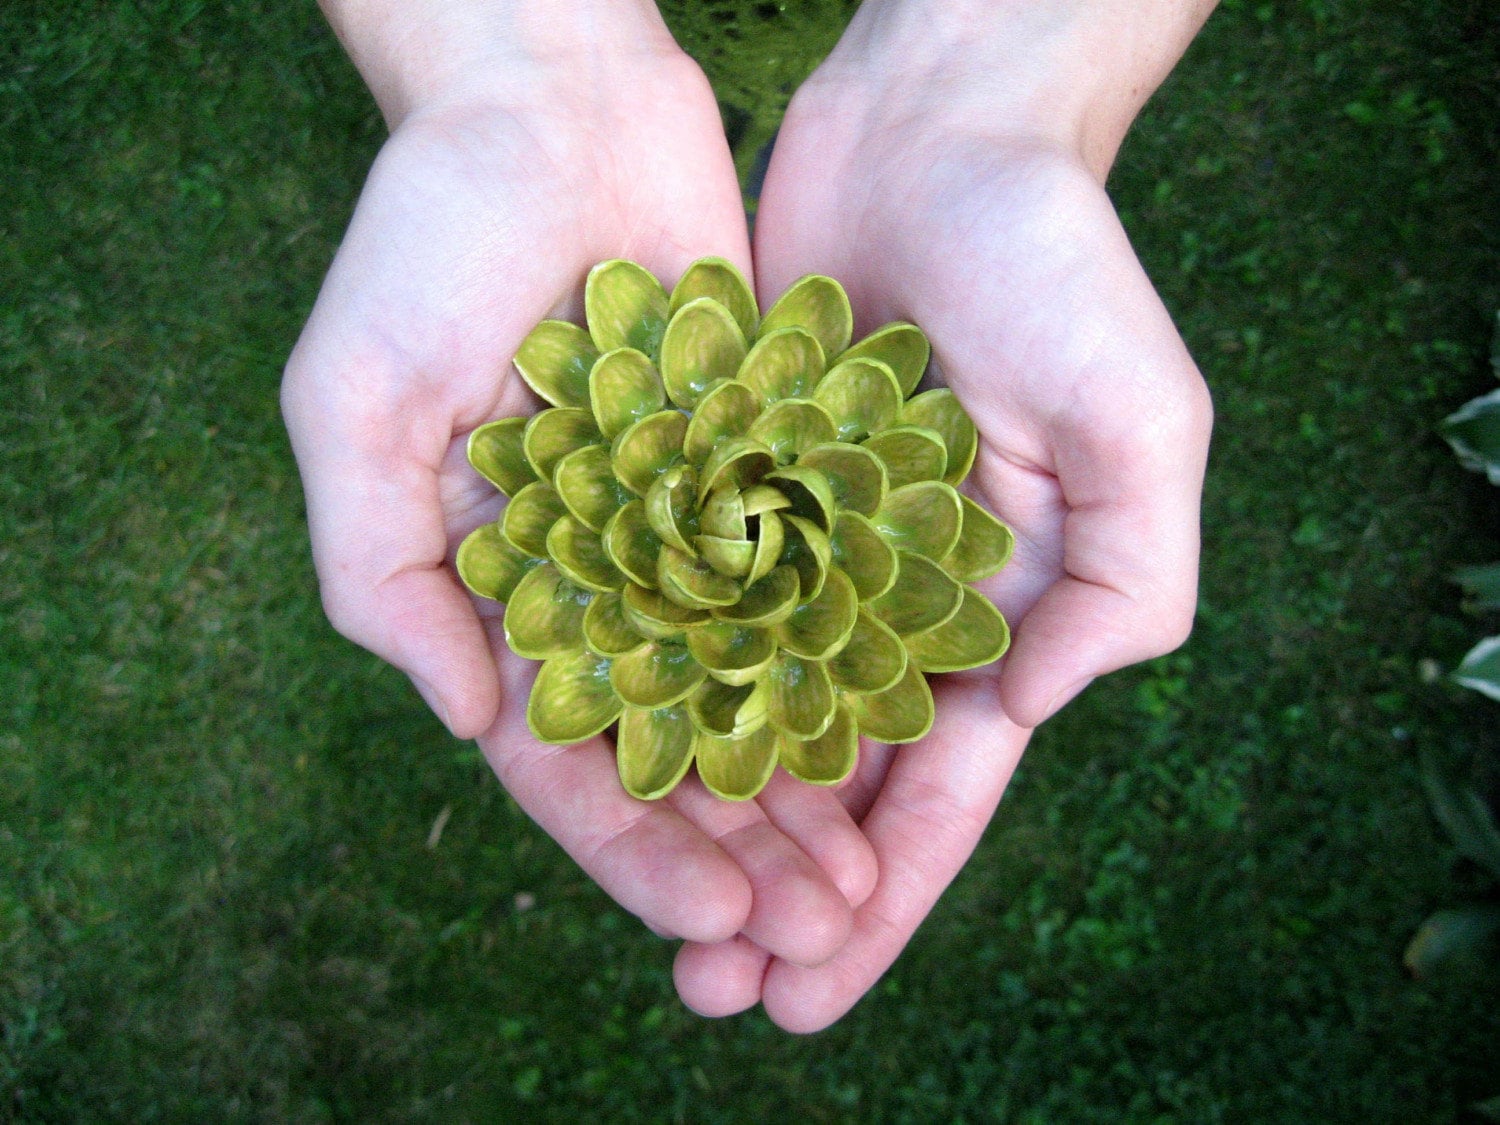
Making headbands for my adorable neice is a breeze. Seriously, doesn't this little head scream for some sort of giant bow? I've found some really cute little patterns for crochet flowers and butterflies and thought I would share since they are SOOOO easy to make. If you have 10-20 minutes, you can make one of these. Don't know how to crochet? Niether did I four months ago. Here are some tutorials.

I found free patterns for small butterflies, flowers, etc. and then just stitched them to the crocheted band that I made from chain stiches, or single crochet stitches. You can also just hot glue them to a hair clip...but for babies with little hair, the headband works best. Bald is beautiful ;)

To make the headband, just measure the head, make that many chains or stitches, and fasten ends together. After I made a few of them I decided to get creative, I made up my own baby cupcake and flower designs (I put links to similar ones below) and bought rhinestones and cute little buttons (or as the hubbz says "cute, little, baby choking hazards") to ebellish with!

I made up the cherry pattern (seen up top) on my own. So to do it, just follow the "testicle" pattern I used for making the "wocket ship" lip balm cozy with red yarn, then make the stem from chain stitches in green yarn. Seems wrong...but nobody will ever know they were made from a testicle pattern :D

Here are the links to my favorite little designs:
Butterfly
Flower 1
Flower 2
Flower 3
Flower 4
Little heart
Cupcake


Go Ag!

Friday, June 17, 2011

So you think you can craft?

I stumbled upon this amazing find when I was checking out pistachio pictures on Google for a presentation I've been working on. At first I was like, "how does this have anything to do with pistachios?" Then, I took a closer look and was amazed that this entire flower was made out of pistachio shells! How freaking cool, not to mention resourceful! I love me some pistachios and always thought it seemed like a waste to just throw the shells away, they have this really cool shape and hard texture...but I of course am not creative enough to think of something like this.

So I clicked on the photo to find Rebecca Douglas of ReLoved Designs cute little blog. She is one crafty chick and what makes her cooler is that everything she makes has been recycled! From the pistachio broaches (That I bought 3 of) to her jewelry made from buttons and bottle caps, this is a girl after my own heart. Yay for environmentally chic!

I was so excited when I got my broaches in the mail, especially since EVERYTHING had been recycled! seriously, the broaches came in these cute little boxes crafted from cereal boxes, it was filled with shredded paper, undoubtedly from her own home. She even included a cute little handwritten note from a nutrition facts cut-out. So please, go check out, and patronize this chicky, she's pretty bad ass. And, if you want a pistachio broach tutorial, check out her blog!


Lucy even approved...

Yay for cute cubicle decorations!


Tuesday, June 7, 2011

Killer Mango Ceviche

Summer is right around the corner! Even though the weather has been crazy, my brain has convinced my tongue it's time for Summer food. I LOVE ceviche, which is a lovely, fresh Mexican dish consisting of chopped tomato, onion, jalapeno, cilantro and marinated fish or shrimp; served cold and eaten with tortilla chips or on a tostada...I also love Mango salsa, something about the tart and mildly sweet mango co-mingling with tomato, cucumber, onion, and jalapeno just brings a smile to my face. So I figured, why not combine my two loves to form this amazing conglomeration of flavors! And yes, it is wonderful, and healthy too! I don't know about you, but all the dark beer and creamy, fattening dishes I've been savoring all Winter long are starting to make my pants fit a little tighter...I keep blaming the dryer for shrinking them, but my denial phase has reached it's end; time to start eating better!

Tips before you get started
  • Make sure you buy a mango that isn't over-ripe. Mangoes should be slightly soft, but not mushy. Firm mangoes are easy to cut and shouldn't become completely obliterated when you work with them. If you've never cut a mango before the seed is a long, flat, surf-board shaped thing in the middle that runs the entire length of the fruit. You will have to cut around that seed to get the flesh. Easiest thing to do is peel it first, then holding it long-ways, cut downward starting a few centimeters from the middle. Or check out this video tutorial for everything you could possibly want to know about how to choose and cut a mango :)
  • If you have never made ceviche before, the idea of marinating your fish in lemon juice over night, then eating the next day without it touching heat may seem a little...unsafe. However, the acidity completely "cooks" your fish for you and the acidity breaks down the fishes' rubbery texture so it's a lot more smooth to your tongue. Just make sure you marinate your fish in nothing but lemon or lime juice! Don't add any water, spices, or salt, otherwise your acidity will be altered and your fish will not "cook" properly. Make sure you submerse your chopped fish with juice. Here is the recipe:
  • You can use any white fish you like, or shrimp. I prefer both Tilapia and shrimp

Killer Mango Ceviche

1 Mango, chopped
1/2 Cup chopped onion
1 Roma tomato, chopped
1 Cucumber, chopped
1 Cup of chopped, lemon/lime marinated white fish/shrimp (see note below)
1-2 Jalapenos finely chopped
1 Tbsp Fresh Cilantro, chopped
Lemon/Lime juice to cover fish (see below)

Cut up our fish or shrimp into 1/4 inch pieces, place in a  Tupperware container. Add lemon or lime juice and cover. I use lemon, but my mom uses lime, both are great! Make sure you add enough juice to completely cover fish or shrimp. Remember, don't add any salt, water, or spices of you will alter acidity levels! Put lid on, refrigerate for 24 hours. Drain completely in a colander and lightly salt.

Cut up all the other ingredients and add with fish to a large bowl. Combine and enjoy on top of tostadas, eat with chips, or just enjoy on its own.

Provecho!
(Means Enjoy in Spanish)

Thursday, June 2, 2011

Turdy The Turtle


I made this little dude for my sweet nephew; I can just see his cute, sugary, sticky widdle smile now. This style of crochet is called Amigurumi; it's a Japanese art of making crochet animals. Amigurumi literally translates to crocheted/knitted, stuffed doll. The pattern was really easy to follow too which was great! I made it in less than three hours. I got my pattern from Crochet magazine. Here is a similar pattern that you can have fun with and customize all your own! Happy hooking!

Here are some more patterns for an Amigurumi Penguin and Koala 

Meanwhile, keeping my eyes on the mission:

My newest project is only in the research phase. Ever heard of tatting? No, not the kind with a needle and ink. Tatting is a really old needlework technique used to make intricate laces....and haven't you heard, lace is "in" this year. Whatever that means ;) All I know is, my great grandma used to be an amazing tatter, but the tradition stopped with her...I will be attempting to resurrect it!

So far I've found this incredible site that has antique crochet and needlework patterns. Suck it Martha Stewart, once I learn to tat, I will be infinitely cooler than you.

Wanna learn along with me? Here is what I am looking at at the moment.